MB Medic Mercedes-Benz Repair Guides, Service, How To DIY

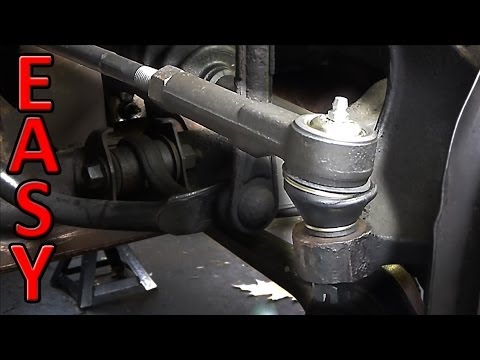
This repair guide includes step-by-step instructions with pictures on replacing the inner and outer tie rods on the Mercedes-Benz W210 E-Class, years 1996-2002. Since you will be removing the tie rods and installing new ones, you will need a front wheel alignment after completing this task. If you only need to replace the outer tie rods, skip the last few steps, which apply to the inner tie rod.
Some of the symptoms of worn-out tie rods are slight vibration on the steering wheel and the car shaking, which is caused by the fact that the tires will wobble because of the excessive play of the tie rod end. When the vehicle has worn-out tie rod ends, the car will wander all over the lane, which gives you a sense of insecurity. The tie rod ends are a critical part of your car and essential for safety. You should have your vehicle checked if you suspect your steering system has problems. Check out this ChrisFix video on how to check whether your tie rods are bad.
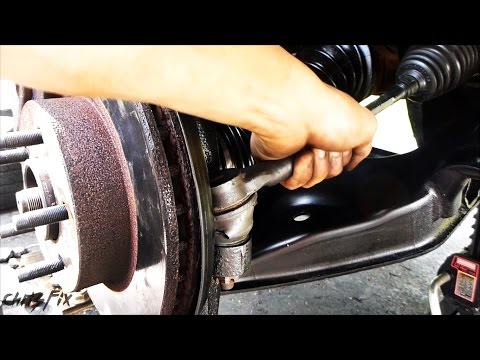
Instructions apply to the W210 E-Class.
Models: E320 E420 E430 E55
Years: 1996 1997 1998 1999 2000 2001 2002
The procedure shown is for the applicable rear-wheel-drive W210 steering configuration. 4Matic models may use different steering components and should be verified separately by VIN and part number.
Parts Needed
 Outer Tie Rods: You will need one left-hand outer tie rod and one right-hand outer tie rod if replacing both sides. You can find them for sale on Amazon for as low as $15.

 Inner Tie Rods: You will need two of these as well. Left and Right. You can find them for around $40 on Amazon; see the link below.
Tools Needed
- Ball joint/tie rod removal kit
 Mercedes-Benz uses a unique tool with part number 202589023300, but we recommend the universal kit below. You can borrow this from Advance Auto Parts or AutoZone for free. The alternative would be to buy your service kit. The universal kit below has many uses and can be used on any car.

- Your toolbox. If you don’t have a nice set of tools, you can get a toolbox kit such as the Yaheetech 399 piece kit with everything you need, good reviews on Amazon, and a great price.
- Torque Wrench like this one.
 Mercedes-Benz uses a unique tool with part number 202589023300, but we recommend the universal kit below. You can borrow this from Advance Auto Parts or AutoZone for free. The alternative would be to buy your service kit. The universal kit below has many uses and can be used on any car.


How to replace tie rod ends
The procedure is essentially the same for the left and right sides.
How to change tie rod ends in a Mercedes-Benz E-Class W210
⚠️ Wheel Alignment Required: Replacing an outer or inner tie rod changes the effective steering linkage length and can alter front-wheel toe. After installation, have the front wheel alignment checked and adjusted as necessary before returning the vehicle to normal driving.
-
- Before beginning, position the steering wheel and front wheels as close to straight ahead as practical. Park on a level, stable surface, apply the parking brake, loosen the wheel bolts slightly, raise the vehicle using the manufacturer’s approved lifting points, and support it securely with appropriately rated jack stands.

- Remove the front wheel.
- Remove the self-locking nut.

- Before you remove the outer tie rod, we will separate the inner tie rod from the outer tie rod. First, loosen the locking nut shown below. Just loosen it at this point. Before separating the tie rod, mark the position of the outer tie rod on the threaded portion of the inner tie rod, or count the number of turns required to remove it. This provides a useful preliminary setting, but it does not replace a professional wheel alignment.
- Now we can spin the inner tie rod until it separates from the outer tie rod. With the lock nut loosened, rotate the inner tie rod to unscrew it from the outer tie rod. Count the turns or use the previously made reference mark to help preserve the original adjustment.
- Remove the outer tie rod from the steering knuckle using the universal front-end service kit we listed above or a ball joint separator fork. Use an appropriate ball-joint/tie-rod separator or puller to separate the tie-rod stud from the steering knuckle. Avoid striking the threaded stud or damaging the steering knuckle.
- Next, you can replace the outer tie rod or continue with these instructions to replace the inner tie rod.
- Remove the clamps on the boot and remove the boot. Now that you have separated the tie rods from each other, you can slide the boot out.
- Remove the rack boot and use the appropriate wrench/tool on the inner tie-rod hex/flat while counterholding the steering rack as required by the service procedure. Avoid applying excessive force to the rack itself. Here is a picture of the inner tie rod removed.
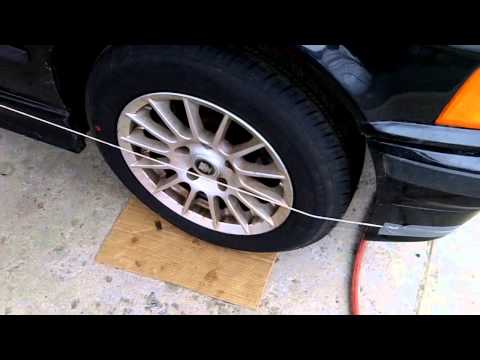
- Install the new tie rods in reverse order. You will need to get a front wheel alignment done after you install the new tie rods. Your wheel may be way off-center. Thread-counting or measuring the old tie-rod position can help establish a preliminary setting, but it does not guarantee correct wheel alignment. Have the vehicle’s front toe and overall wheel alignment checked and adjusted with proper alignment equipment.
- Before beginning, position the steering wheel and front wheels as close to straight ahead as practical. Park on a level, stable surface, apply the parking brake, loosen the wheel bolts slightly, raise the vehicle using the manufacturer’s approved lifting points, and support it securely with appropriately rated jack stands.


 we listed above or a
  Use an appropriate ball-joint/tie-rod separator or puller to separate the tie-rod stud from the steering knuckle. Avoid striking the threaded stud or damaging the steering knuckle.


Torque Specification
- Inner tie rod mounted to the steering rack.
110 Nm - Self-locking nut, outer tie rod.
60 Nm
Part Numbers
| Component | Example OEM number |
|---|---|
| Left outer tie rod | 210 338 05 15 |
| Right outer tie rod | 210 338 06 15 |
| Inner/center tie rod | 210 338 04 15 |
Videos on how to replace the tie rods on the web.