MB Medic Mercedes-Benz Repair Guides, Service, How To DIY

Here are the instructions for replacing the front window regulator or the power window motor. A grinding or cable noise with little or no glass movement often indicates a failed window regulator. If the window is silent, test the fuse, switch, wiring, connector, and motor power and ground before replacing the motor. These instructions were photographed on a 2001 to 2007 W203 C-Class but apply to the following models:
Applications:
Mercedes C-Class W203 2000-2007 C320 C230 C240
Mercedes E-Class W211 2002-2009 E320 E500 E55
Mercedes CLK W209 A209 2002-2009 CLK320 CLK500 CLK55
Parts Needed
Each part has links to Amazon if you need any.
- 5 mm 3/16” rivets
- Rivet Gun
- Window Regulator
(You need a new regulator if you hear grinding noise when you press the window switch) - Window Motor
(Only needed if you don’t hear any noise when you press the window switch. )- C Class W203
- CLK Class W209
- E Class W211
Links are provided for selected parts. Verify every regulator and motor by VIN before ordering.
Tools Needed
- Philips Screwdriver
- Flat screwdrivers or a plastic trim removal tool
- Rivets
- Ratchet & Extension
- T20, T30 Torx Sockets
Drill - 1/4” drill bit or similar
Step by Step
- Disconnect the battery. If you don’t, you will disconnect the side airbag and set the SRS light.
- Move the window up, if that is possible.
- Remove the SRS cover using a flat screwdriver. Be careful not to damage the leather.

- Remove the triangle speaker cover. You push the cover toward the front of the car while pulling it away from the door simultaneously.

- Remove the door handle cover using a flat screwdriver.
- Now using the T-30 sockets, remove the Torx screws. Two are on the door handle. One is under the SRS logo you removed earlier.
- Remove the T-20 screw from the door latch cover and remove the cover.
- Remove the door latch pin. It has threads, and you can remove them by rotating them counterclockwise.
- Start at the bottom of the door panel and carefully pry it out using a flat object such as a screwdriver. Several tabs hold the door panel in place. Once the door panel is loose, move it up to remove it from the groove at the top, near the glass.
- Next, remove the door latch cable. Pull the black cable back to remove it from the bracket. Then pull the hook up.
- Next, remove the power window switch. Pull up on the white locking tab. The whole switch comes out easily. Leave it connected, as you may need to move the window up and down.
- Disconnect the cable that goes to the bottom of the door panel. This is the power feed for the courtesy light. Pull the courtesy light from the door panel, unplug it, and release its wiring. You can use a flat screwdriver to pop out the courtesy light.
- Disconnect the seat adjustment cable.
- Locate the rivets that you need to drill out. Make sure that the window is up. If it can’t go up, you must be VERY CAREFUL when you drill because you can hit the glass with the drill bits.
- Drill out the bottom rivet for the airbag. As shown in the picture, you can drill out the upper airbag rivets or just the bottom one and fold up the airbag. Whatever you feel comfortable with. Compare the new regulator, motor mounting pattern, connector, cable routing, glass carriers, and mounting holes with the removed assembly before riveting anything into the door.
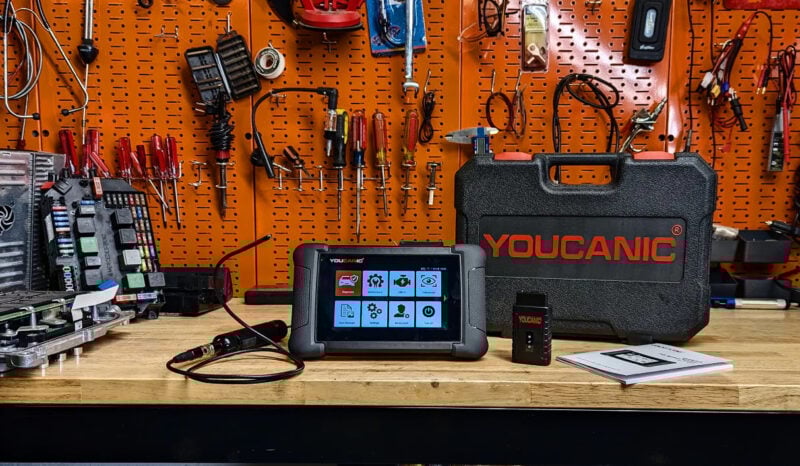
- Unplug the airbag cable. It just pulls out. IF YOU TURN ON THE IGNITION TO MOVE THE WINDOW UP AND DOWN, MAKE SURE TO PLUG IN THE AIRBAG CABLE, OR YOU WILL GET AN SRS WARNING LIGHT. If you trigger the SRS warning light, you will need a Star Diagnostic. If the SRS warning remains on after the airbag connector is secured and the battery is reconnected, use the YOUCANIC UCAN-II Pro to scan the SRS module and clear the stored fault after confirming the circuit is intact. It provides full AI Diagnosis, built in TPMS sensor programming, a rear VIN scanning camera, coverage for 140+ makes, 3,500+ active tests, and 1,000+ special functions, with no subscription and no AutoAuth required.
- Remove the foam insulation pad from the door frame. You pull it out carefully. Uncover the bottom part of the door. You don’t need to remove the foam altogether. When you put the door back together, you will use the existing adhesive to install the insulation pad.
- Drill out one rivet near the door pull handle. It holds the window regulator in place. It is part of the door pull handle. It’s the one further to the back from the 3 or 4 rivets that are part of the door handle.
- Drill two rivets on the bottom, each side of the window regulator.
- Drill out one rivet on the top, each side of the window regulator.
- Remove the two Torx bolts from the window regulator. This will loosen the glass. Make sure someone is helping you by holding the glass or securing the glass. If the glass drops at the bottom of the door, it will most likely break, so be careful.
Now move the window regulator “legs” out. You will be moving the back leg towards the back. The front one is towards the front. This will unhook the window regulator from the white plastics that are part of the glass. - Move the window regulator slightly up to unhook it.
- Unplug the power cable from the window motor.
- Get the window regulator out of the door.

- Remove the three torx bolts to remove the motor from the window regulator.
- Install the new motor.
- Install in reverse order. Use your rivet gun to install new rivets.


Part Numbers
W211 Window regulator driver left side 2117200346 Passenger 211 720 02 46 2117200246
W209 Driver 2308201042 / 230 820 10 42 Manufacturer Part Number:
W209 Passenger 209 720 08 46 Other Part Number: 2097200846
W203 Driver 2037201546 125-58854,2037201546,749-704 Other Part Number: 203 720 15 46
W203 Passenger 2037201646
Has a confusing warning light appeared on your dashboard? Scan your Mercedes-Benz with a YOUCANIC Scanner to read fault codes!