MB Medic Mercedes-Benz Repair Guides, Service, How To DIY
These instructions will show you how to remove and replace the front lower ball joint on a Mercedes E-Class W211 or CLS W219. Before you begin, review the part numbers and tools needed. These instructions apply to Rear Wheel Drive models only. If you have a 4MATIC model, use the 4MATIC procedure instead.
Parts Needed:
SUSPENSION FRONT LOWER CONTROL ARM BALL JOINT 
 Lower Ball Joint
Part Number 2113300435 2110435
2203330727 220 333 07 27 MB211-330-04-35
Tools Needed:
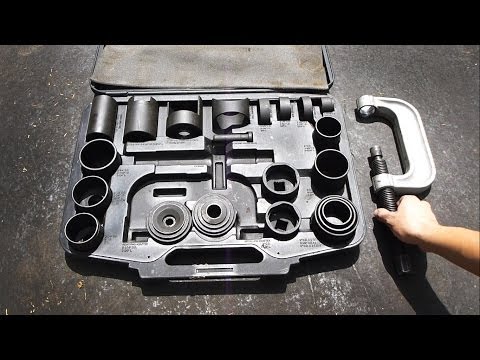
 Ball joint press kit, service tool.

Application:
- E-Class ( E500, E63 AMG) Years: 2003-2009
- CLS-Class (CLS550, CLS63 AMG, CLS 500) Years: 2005-2010
Step-by-step instructions.

- Loosen the lug nuts before you raise the car.

- Raise the car. Support the vehicle securely with jack stands. Do not rely on a jack alone.
- Remove the front wheel.
- Remove the wheel speed sensor from the steering knuckle. Remove the sensor retaining bolt, then unclip the wiring harness from its plastic holder. When reinstalling the wheel speed sensor, make sure the chafe protection is positioned correctly. Do not place it between the sensor and steering knuckle, or the sensor may not read wheel speed correctly. Use new self-locking fasteners during reassembly. Do not reuse the removed ball joint nut or RPM sensor retaining bolt.
- Next, we must remove the self-locking nut that secures the control arm to the ball joint. Before you do so, support the control arm underneath using a jack. A transmission jack is ideal in this situation. You will need to push the control arm up.
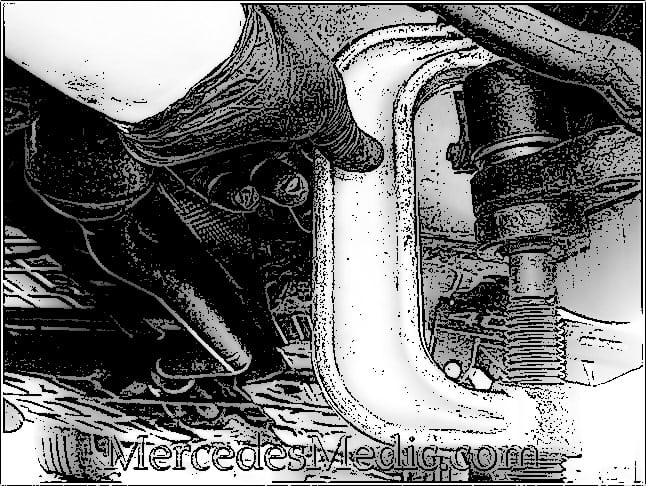
- Press out the old ball joint. Once you remove the nut and separate the control arm from the ball joint and move the control arm out of the way, you can press the old ball joint out. To get help pressing the ball joint out, see the video below. Use the correct press cups and keep the press square to the joint. Make sure the press and adapters do not contact or damage the brake hose while pressing the new joint into the steering knuckle.
- Next, you will need to press in the new ball joint. Reconfigure the press for installation. The adapter arrangement is different from the removal setup.




Torque Specifications:
- Bolt that holds the RPM sensor to the steering knuckle: 25 Nm
- Ball joint self-locking nut: 50 Nm, then tighten an additional 60 degrees.
Important: On certain W211 vehicles up to VIN A943000 or X204000 and W219 vehicles up to VIN A069865, Mercedes specifies replacing the front lower ball joints in pairs. Check the VIN before ordering parts.
Video: How to press a ball joint using a kit. AutoZone and Advance Auto Parts offer ball joint press kits through their loaner tool programs. A refundable deposit is required.